A simple guide to creating fabulous fabric manipulation samples or products…
Helen’s Hot Pink Haberdashery Process No.1
The Seduction World of Fabric SLASHING
As a Director of Hot Pink Haberdashery hotpinkhaberdashery.com I find myself spending most of my time online, preparing orders or working with numbers, yet my original training and real passion is a creative one. Trained as a Textile designer, a skill I use at hotpinkhaberdashery.com to source, buy and prepare fabric collections, I feel I could utilise further for the good of our customers. Therefore I have embarked on a process of creative Fabric Manipulation in order to share my passion for creative textiles processes with customers and other crafters to generate ideas and inspire future makes!
My first one I found very seductive, hence the title. It’s easy and stress free, yet the results are incredible. Fabric SLASHING.
You need very little resources:
Scraps of fabric of a variety of textures, colours and sizes. Small pieces work best. Fabric scraps
One piece of fabric that will show on the front and back of your slashing. A pattern or plain fabric is equally effective. This needs to be double the size of your finished result. A sewing machine and a pair of small sharp scissors.

Step 1
As the picture shows, begin laying your fabric scraps (any shape, colour or fabric type) onto one side of your base fabric. This is because this fabric will be folded.
Step 2 Continue to layer

Step 3 Once you have a whole heap of fabrics layered onto your base. Fold the fabric in half to cover your pile of scraps.
Step 4 Press/iron vigorously to flatten the layers down. With a sewing machine, then straight stitch around the edges of the fabric to make an enclosed parcel. Step 5 Now using the same stitch, sew your design onto the fabric. This can be straight lines, curves or whatever you wish, but stitch lines need to be close together (you are creating tram lines that you will eventually cut between). I decided to follow the pattern on the fabric and stitch along the stripes horizontally.

Step 6 Once your design is stitched, you will need a sharp pair of small scissors. Begin cutting through all of your layers except the bottom one, to reveal the colourful scraps underneath.

Continue this process to further reveal the under layers. Tease out the scraps if necessary.
Once this is complete, to finish off the sample, embrace the texture it creates by increasing the surface friction and therefore further fraying the fabric and revealed pieces. You can do this by hand washing the surface vigorously with washing up liquid, bashing the fabric against a brick wall, putting it in the tumble dryer, or any other method you fancy.
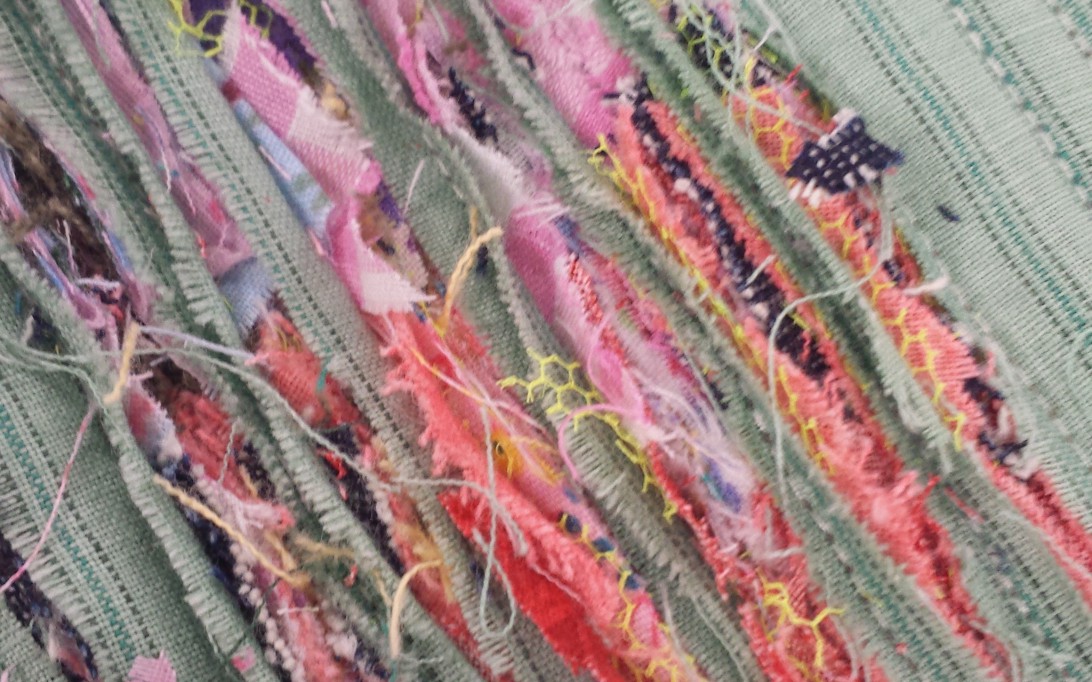
The finished result


Beautiful, but what could you use it for?
I faced the similar dilemma and have actually done nothing with mine yet, except look and admire. However you can use it for a whole host of products, or with further work, as a piece of Textile Art in its own right.
Cushion Cover: A square versions would make an excellent cushion cover or decorative insert. The best part of all, the more it gets used and the older it gets, the better it looks.
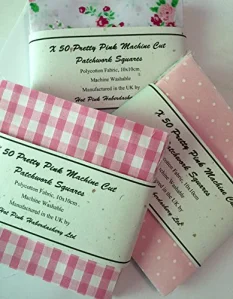
Patchwork Quilt Border or insert: Similarly if you fancy a patchwork quilt, this process could produce a fantastic border or central decorative insert that could make your quilt stand out amongst all others. Choose matching fabrics for all the processes to produce something special. Patchwork squares and fabrics with a shabby chic style.
A personalised wall hanging: One of the best things about this technique is that you can work with it however you wish. There are no right or wrong ways to do it, just be creative and see what happens. To produce a beautiful wall hanging, add further texture and sparkle by sewing on small beads or buttons. Or stitch ontop of the slashing to write a message or add greater surface decoration. Try It out!
I would absolutely love to see what you have managed to create, I need your inspiration and ideas too. Please share your makes with me on our facebook page Instagram or twitter or please respond to this blog.
I aim to take all of this creativity to further develop the products and fabrics on hotpinkhaberdashery.com so hopefully you can support me with that!
Be seduced by slashing, give it a go and share!

Reblogged this on hotpinkhaberdashery.
LikeLike
I make little upcycled cross body bags with mine (slashed side only on the front or one side) – sometimes I stitch little patches over some of the slashed bits Works particularly well if you incorporate sari ribbons in them 🙂
LikeLike
Sounds great! Will have to try that one.
LikeLike
How does it feel? Is it comfy enough to use as a bench cover, or make a large one and upholster some foam for a seat cushion?
It would make a really interesting headboard.
Anyway, thanks for sharing! I’m inspired.
LikeLike
Hey
It would make a great bench cover or seat cushion. It could feel rough if you use netting etc… But otherwise plenty of washing and tumble drying / distressing makes it pretty soft.
Would love to see pics.
LikeLike
Absolutely must try this- so creative, thx!!!
LikeLike
What a wonderful technique ! Thanks for sharing. Lara
LikeLike
Doesn’t it fall apart if washed?
LikeLike
Hi
No it won’t fall apart as it is all stitched together.
LikeLike
Thanks for sharing this wonderful tutorial. I’ll surely give this a try.
LikeLike
I’m going to give this a try. I see it as elbow patches on a blazer or a sweater. I might also put some on a pair of jeans to fix a hole. It would be amazing peaking out from under a rip in jeans.
LikeLike
Fab ideas!! Again, would love to see pics.
LikeLike
Just stumbled over your post on instagram… LOVE it. Have to try and make a journal cover from it. What a great use for all the scraps!
LikeLike